Here, at ContactPigeon, we like working hard as much as we love playing hard. This means we always strive for outstanding research, substantial testing and impressive results to make our platform easier to use for you. Isn’t that all you could ask for?
We already know the answer to this question (duh…), as we always put our customers first and listen to what you have to say. Our confidence and enthusiasm in our product helps us come up with new ideas and enhancements that, in the long run will deliver more traffic and sales at your online doorstep!
Let’s get straight to the point… the intention of this article is to help you understand the unlimited possibilities of our New Evolved Dynamic Pop-up Editor. Continue reading to find more about it and how it can help you increase your customer base and conversion rates!
We have great news! It is so easy to use and comes with lots of advantages. One of them is that you can customize it and brand it your way!
There are various motives why e-shops use pop-ups and each one has a different aim. Some of them are:
- Advertisements
- Inform clients of news or discounts
- Sign up to newsletters
- Catch newcomers or those who are about to leave your website (on load or on exit)
- Gather Client information to create personalized content (known and unknown visitors)
- Run Seasonal Campaigns
- A combination of the above or customized rules!
If you want to join the Pop-Up Train then hop on… or better yet pop on! Have a look below and see for yourself how simple it is… sing “started from the bottom now we hear” and thank us later!
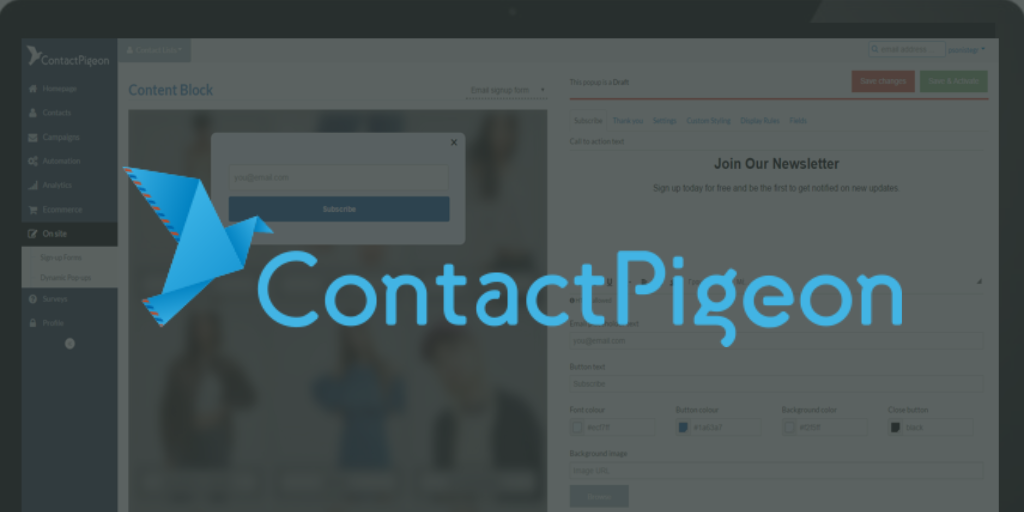
ContactPigeon On-Site Dynamic Pop Up gives you the chance to create your message as a sign-up form and those with HTML knowledge, can also custom their code. On the Subscribe tab, you can type in the title and the message you want to be shown. Add your favorite background image by uploading it directly from your PC. This way you can make your message look branded and to the point. Don’t forget that on the Subscribe, Thank you and Custom Styling tabs you can play around the options and see how it looks by changing colors, font, size and the alignment! If you’d like to add your CSS/JS tags you can simply add it on Custom Styling.
On the Settings tab, give it the name you want i.e. “Newsletter on Exit Intend” and don’t forget to add the Contact List where the information will go automatically. This list can be created in advance or save your pop up, create the list and add it later before you Save & Activate! Last but not least let’s talk about Display Rules and Fields tabs.
On Display Rules set the rules for your pop up such as when it will be shown, on which page and manage the time of appearance. You can either click on Custom Rules to make it tailored to your needs, or choose one of the options we have already created for you on the scroll down menu or by clicking “Find out more”. It may be the last one on the pop-up catwalk but the Fields are the one you will fall in love with!
Just click on the field you want to add, tick on required if you want to make it a mandatory option and start receiving organic data from your visitors. Whether you just want their name and email address or more data such as postal code or ever a more customized field then just click on it, create it and have fun!
You can preview your pop up anytime you’d like to, just click on the magnifying glass on the bottom left! Remember test, test, test!
Stay tuned for more!


